Cursive Handwriting Worksheets - Lowercase Alphabet, Letters and Numbers
Cursive handwriting worksheets
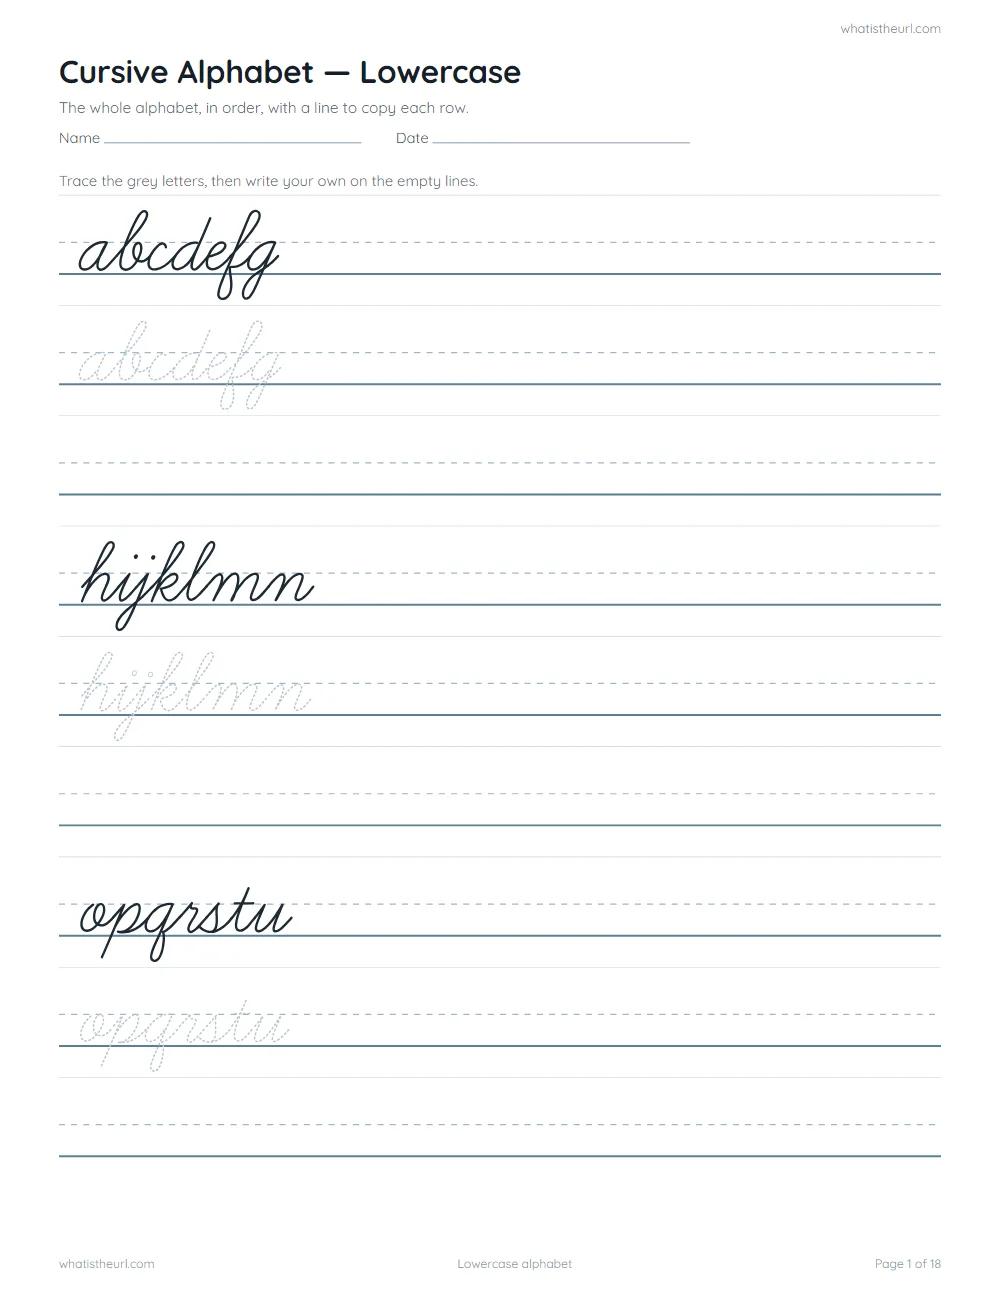
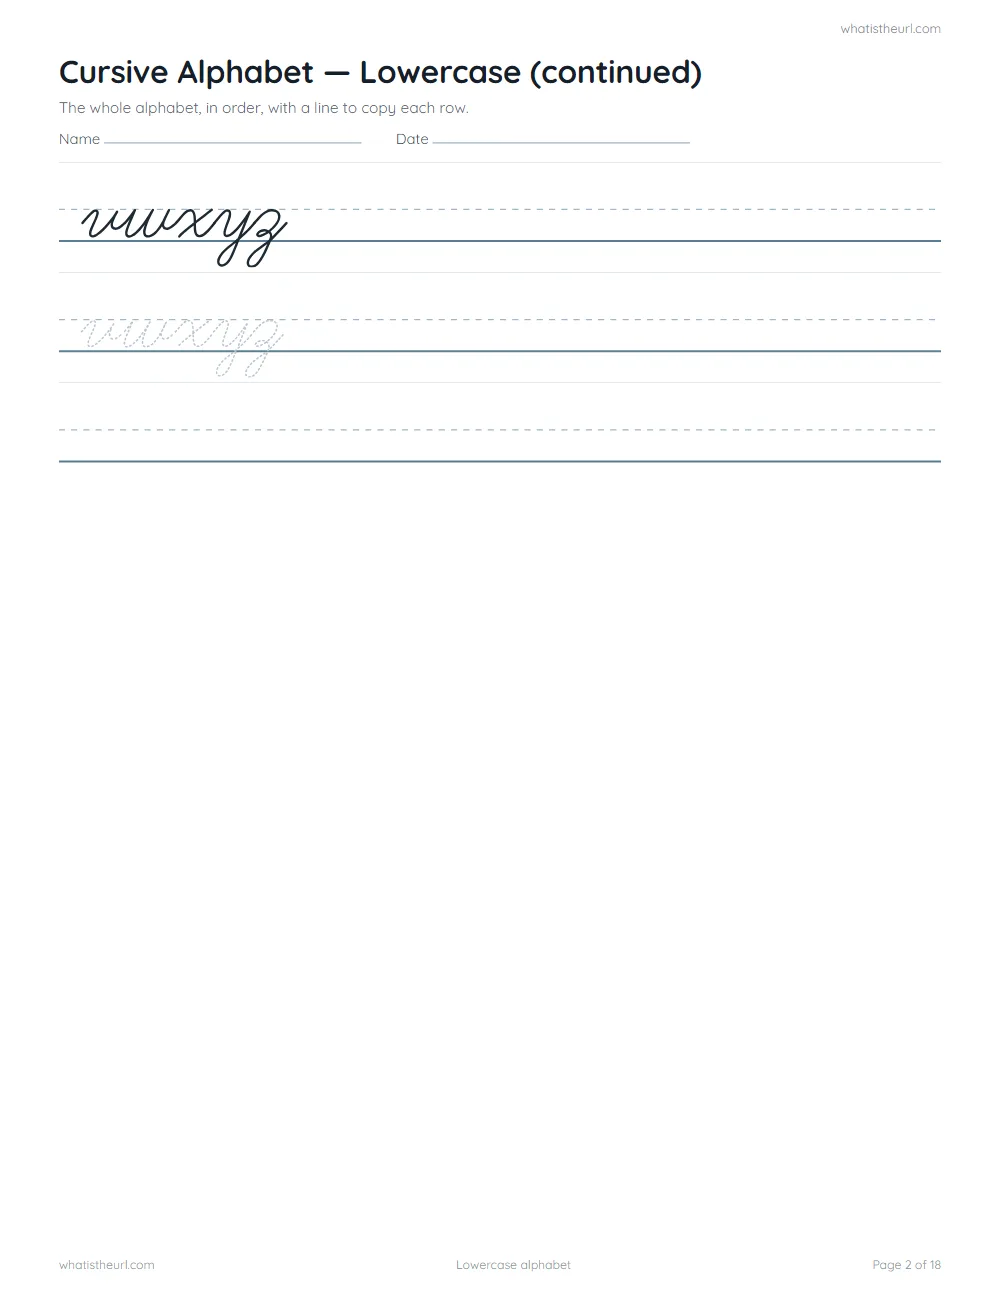
Eighteen printable pages for learning lowercase cursive: the full alphabet, five letter families grouped by the stroke they share, ten single-letter pages, and numbers. Every sheet has a model to look at, dashed letters to trace, and empty lines to write on.
Free PDF, no sign-up.
Start with the families, not the alphabet
The obvious way to teach cursive is a to z. It is not the fastest way.
Cursive letters are built from a small number of strokes, and letters that share a stroke are much easier learned together. Once a child can make the "curve back and around" shape, they already have most of c a d g q o — five letters for the price of one. Working alphabetically means starting with a, then b, which shares nothing with it, then c, which shares everything with a but is now three days late.
The five families in these sheets:
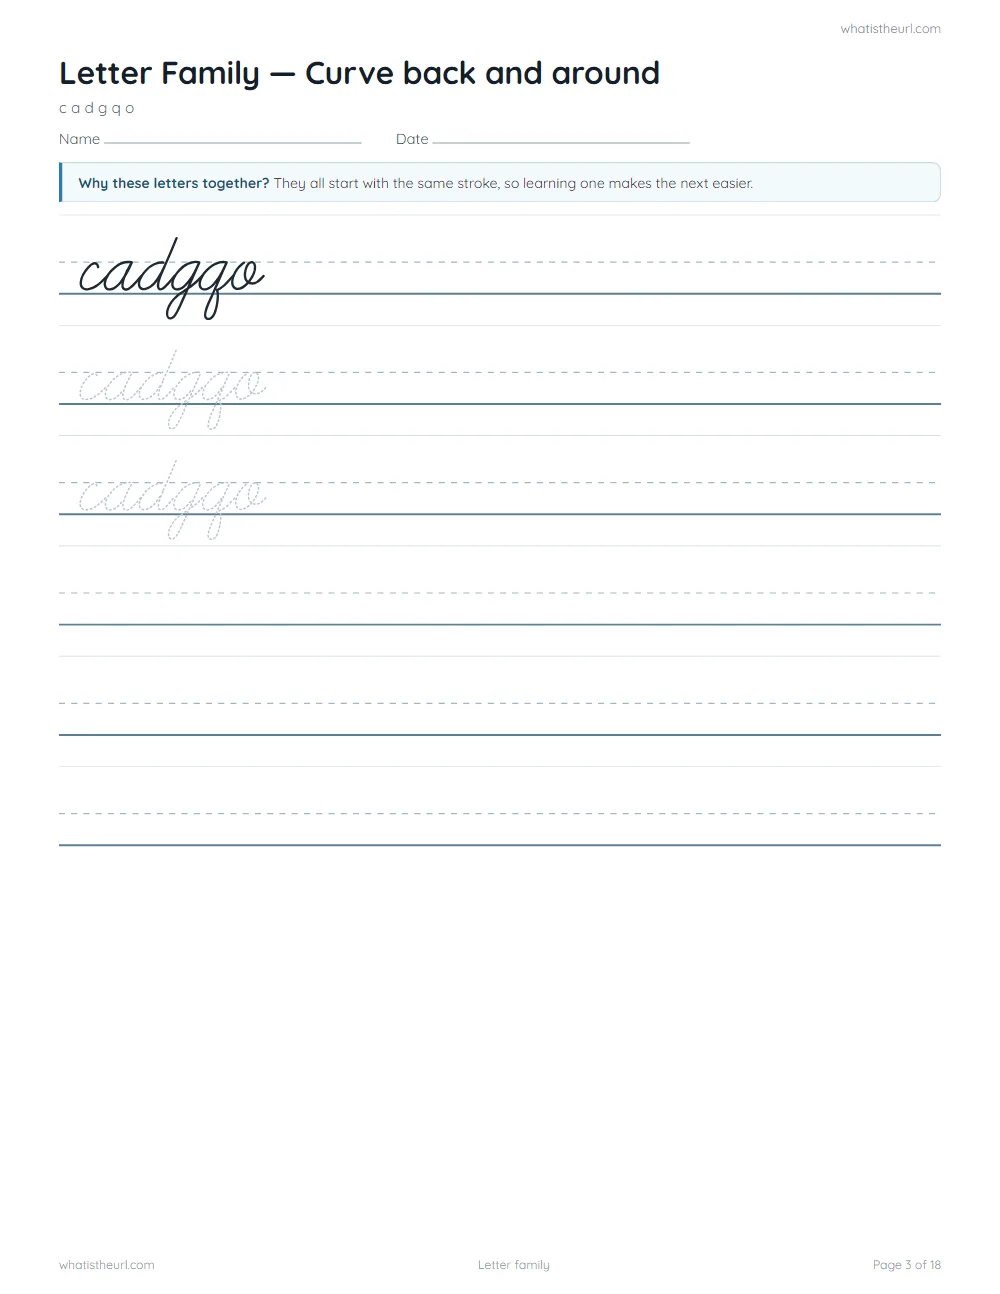
- Curve back and around — c a d g q o
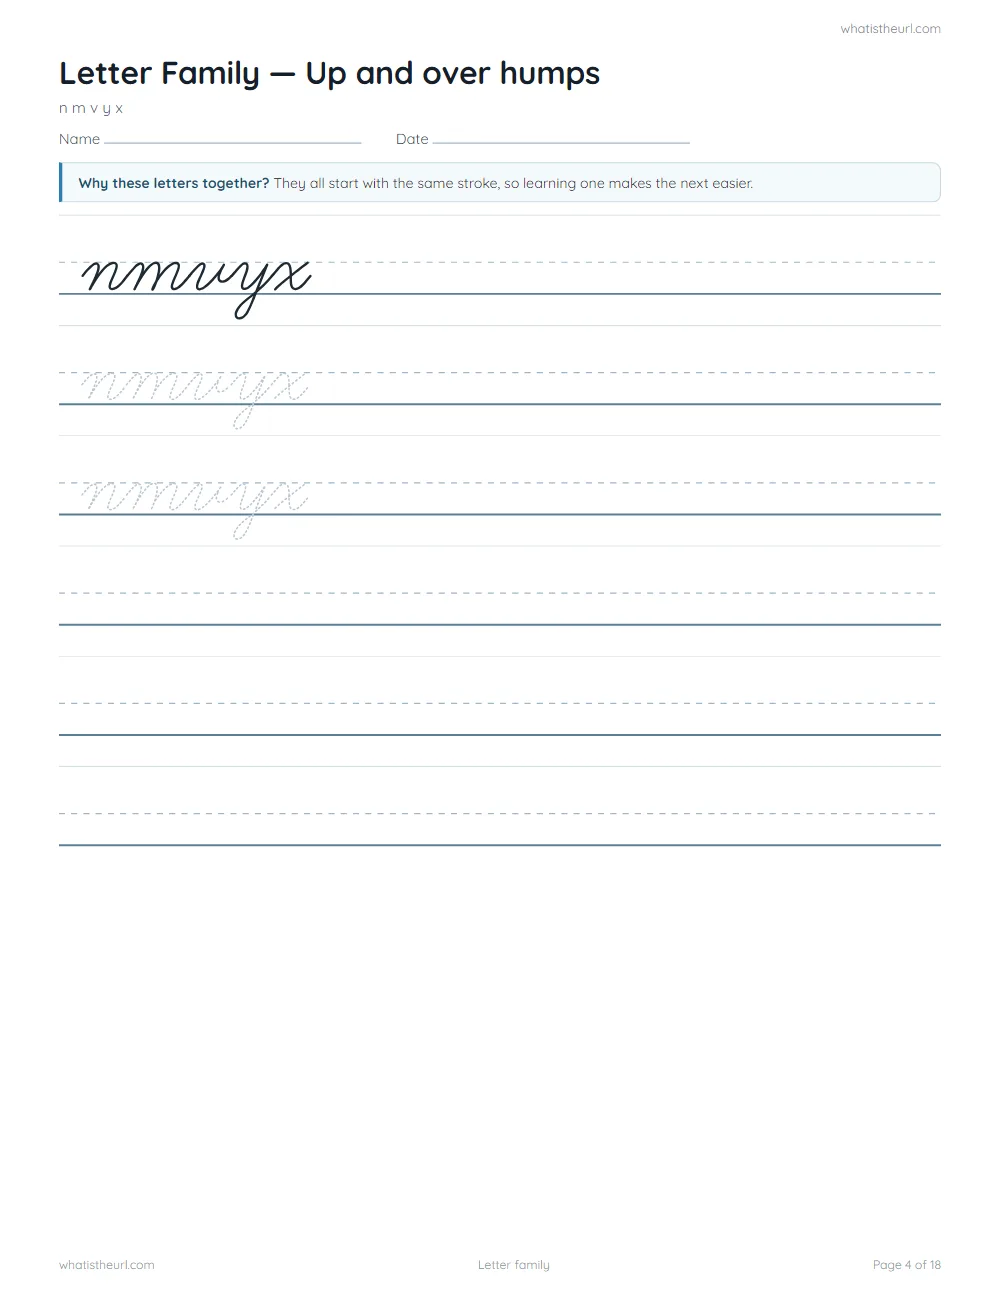
- Up and over humps — n m v y x
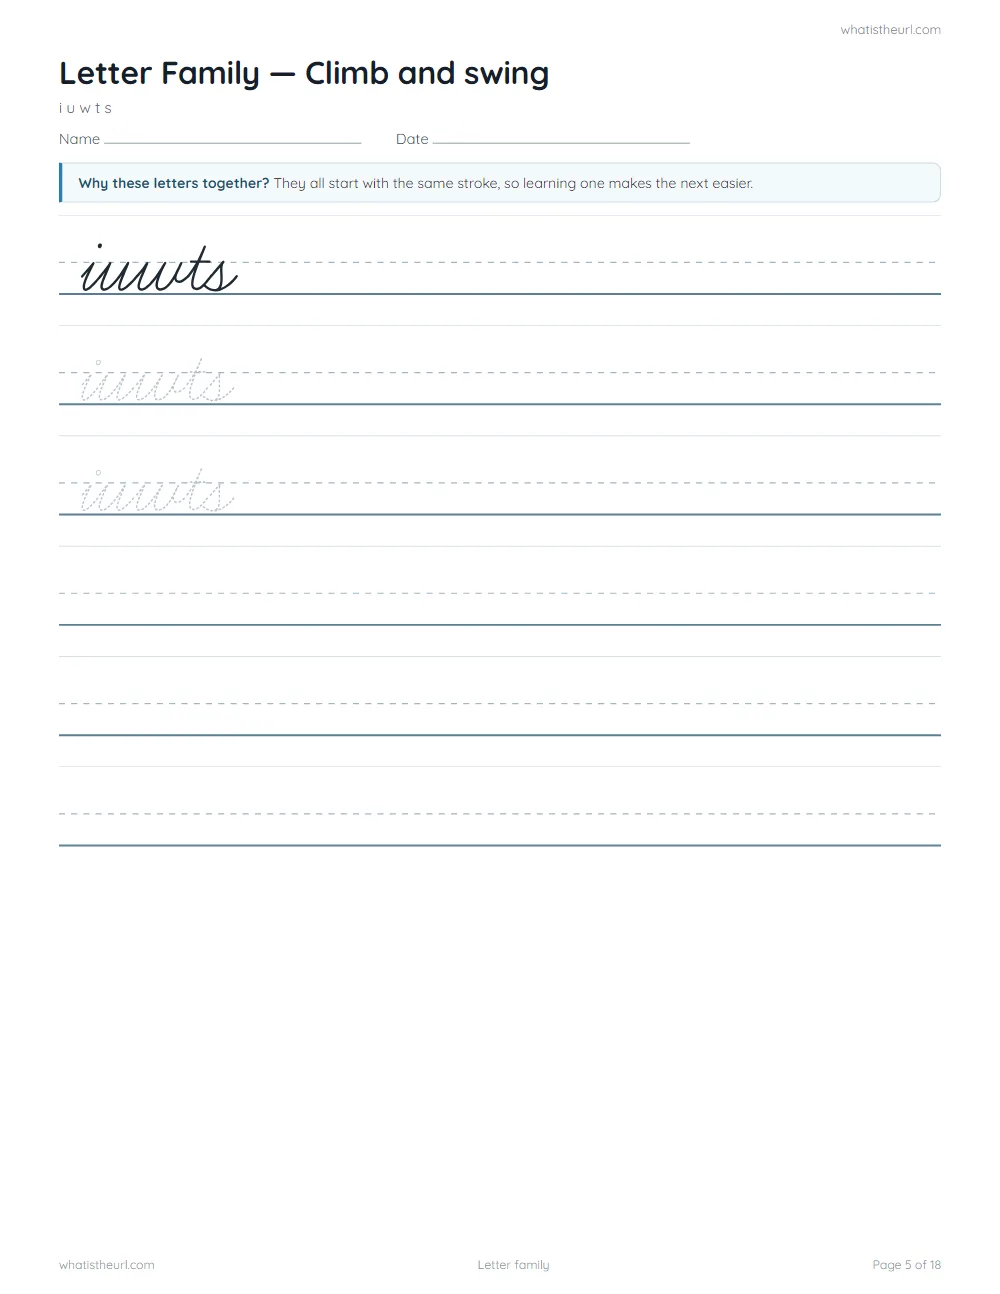
- Climb and swing — i u w t s
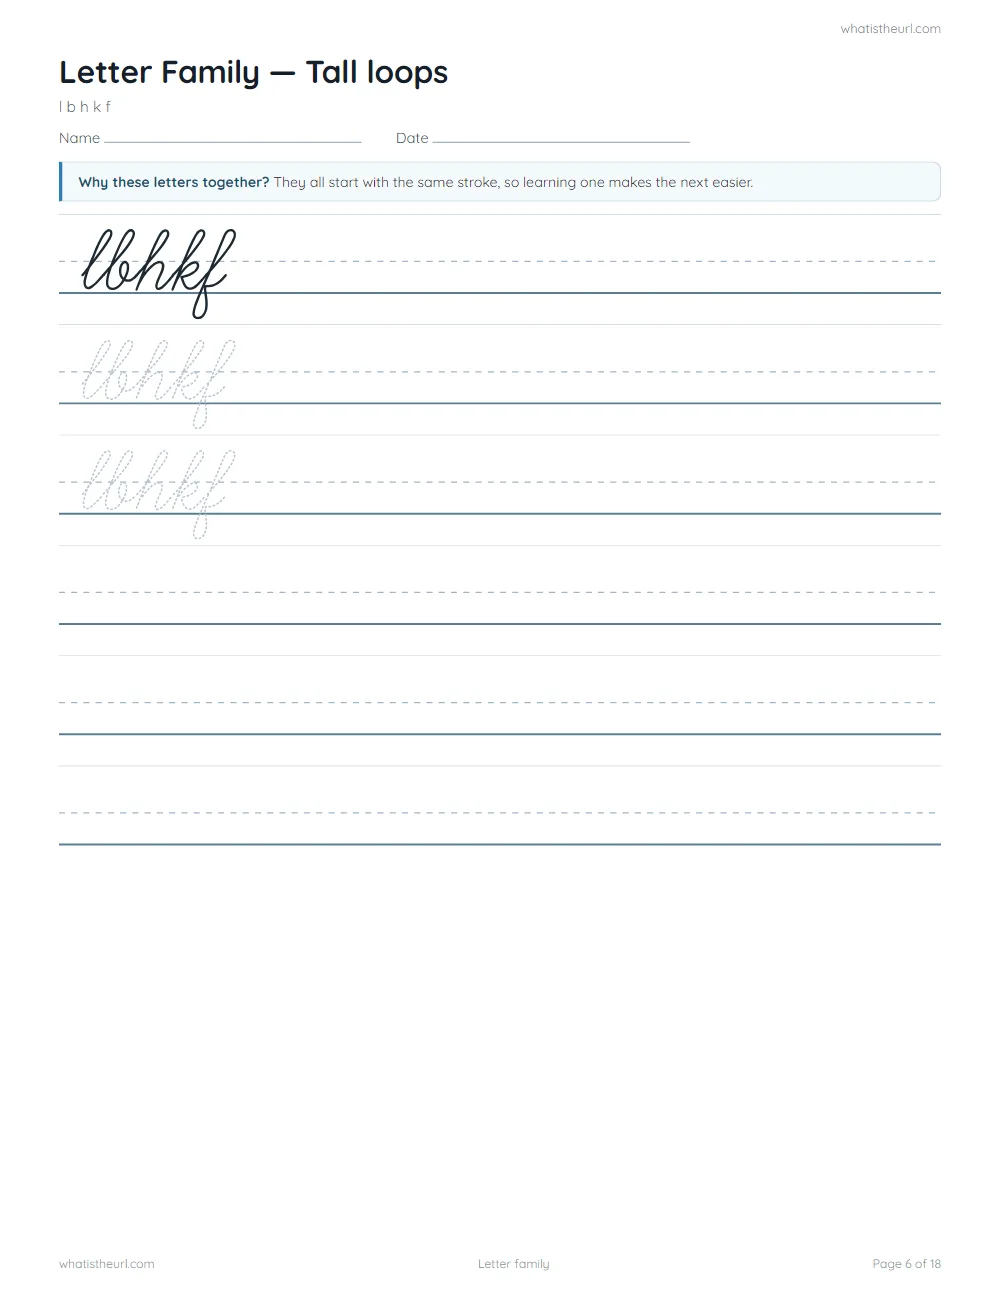
- Tall loops — l b h k f
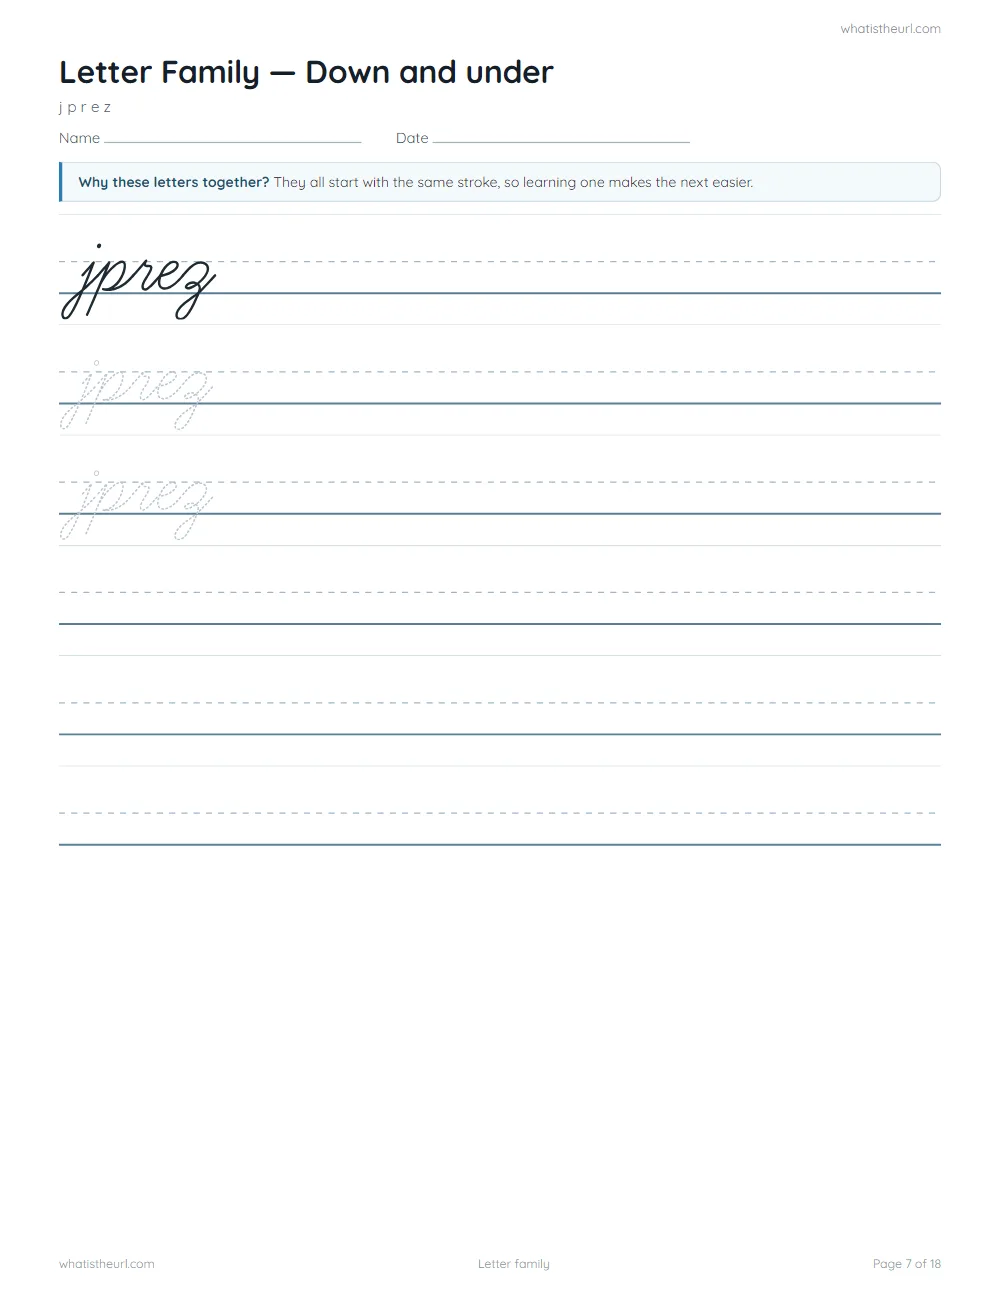
- Down and under — j p r e z
The three lines, and why they matter
Every sheet here is ruled with three lines, not one:
- the top line, which tall letters reach — l, b, h, k, f, t, d
- the dashed middle line, which most letters reach — a, c, e, m, n, o, r, s, u, v, w, x
- the baseline, which every letter sits on
Letters with tails — g, j, p, q, y, z — hang below the baseline. A child who writes every letter the same height has not made a mistake of neatness; they have not yet seen that the lines mean something. The dashed middle line is the one that does the teaching.
Letters shown in words, not alone
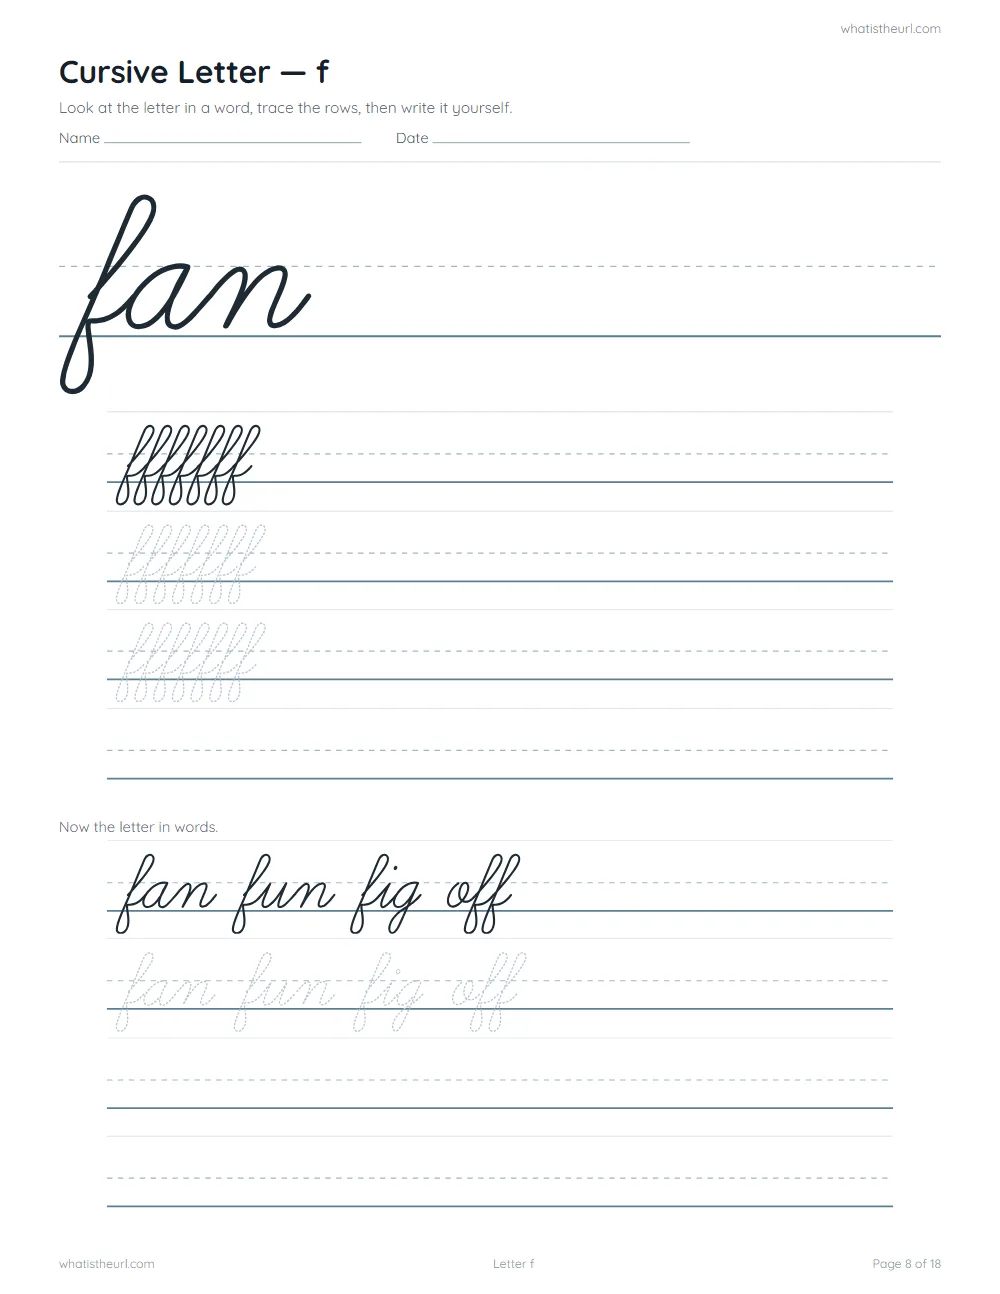
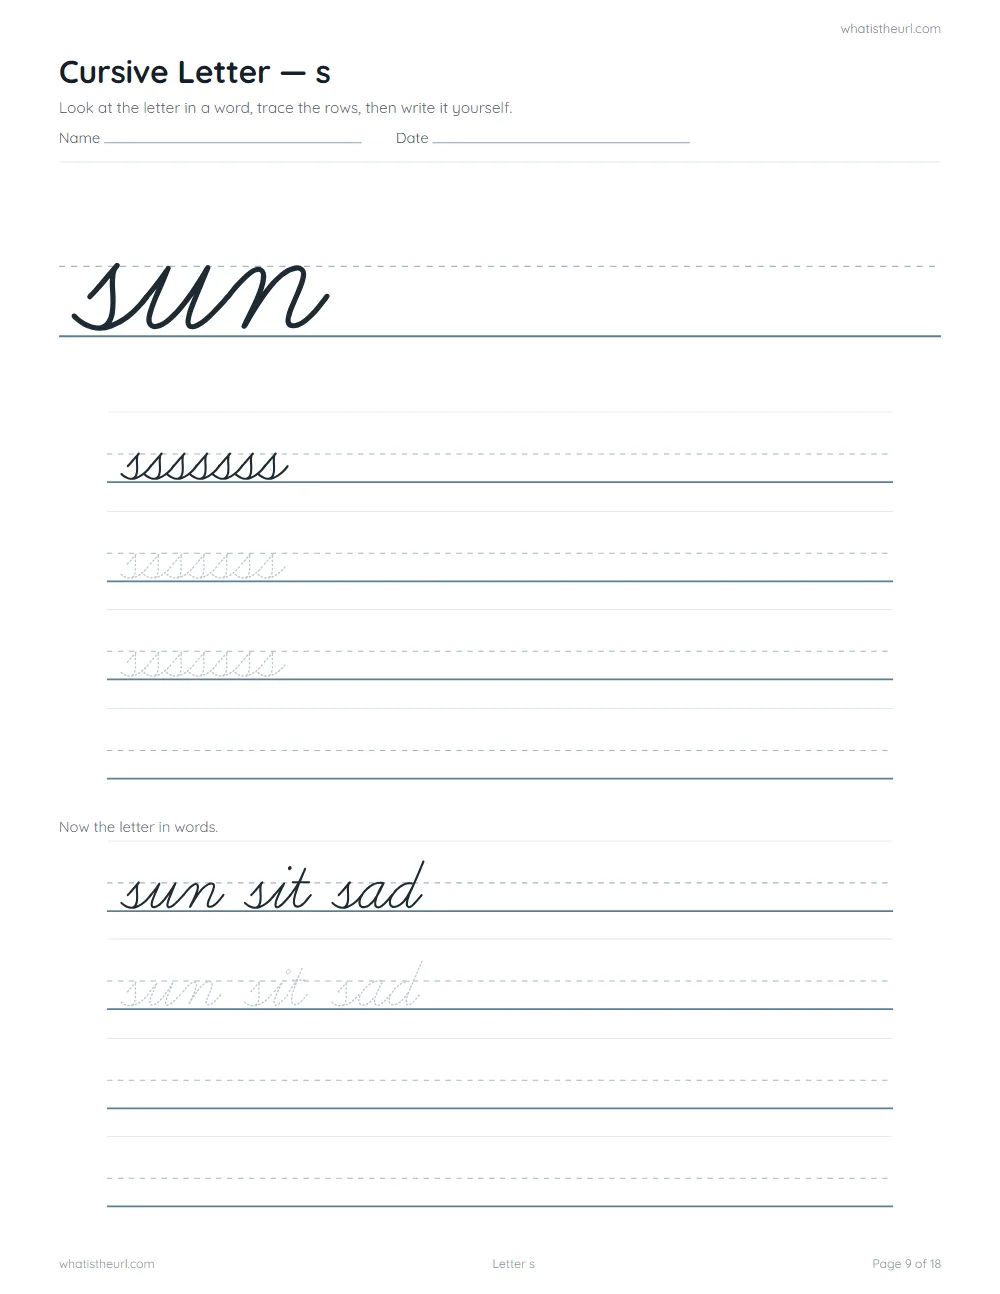
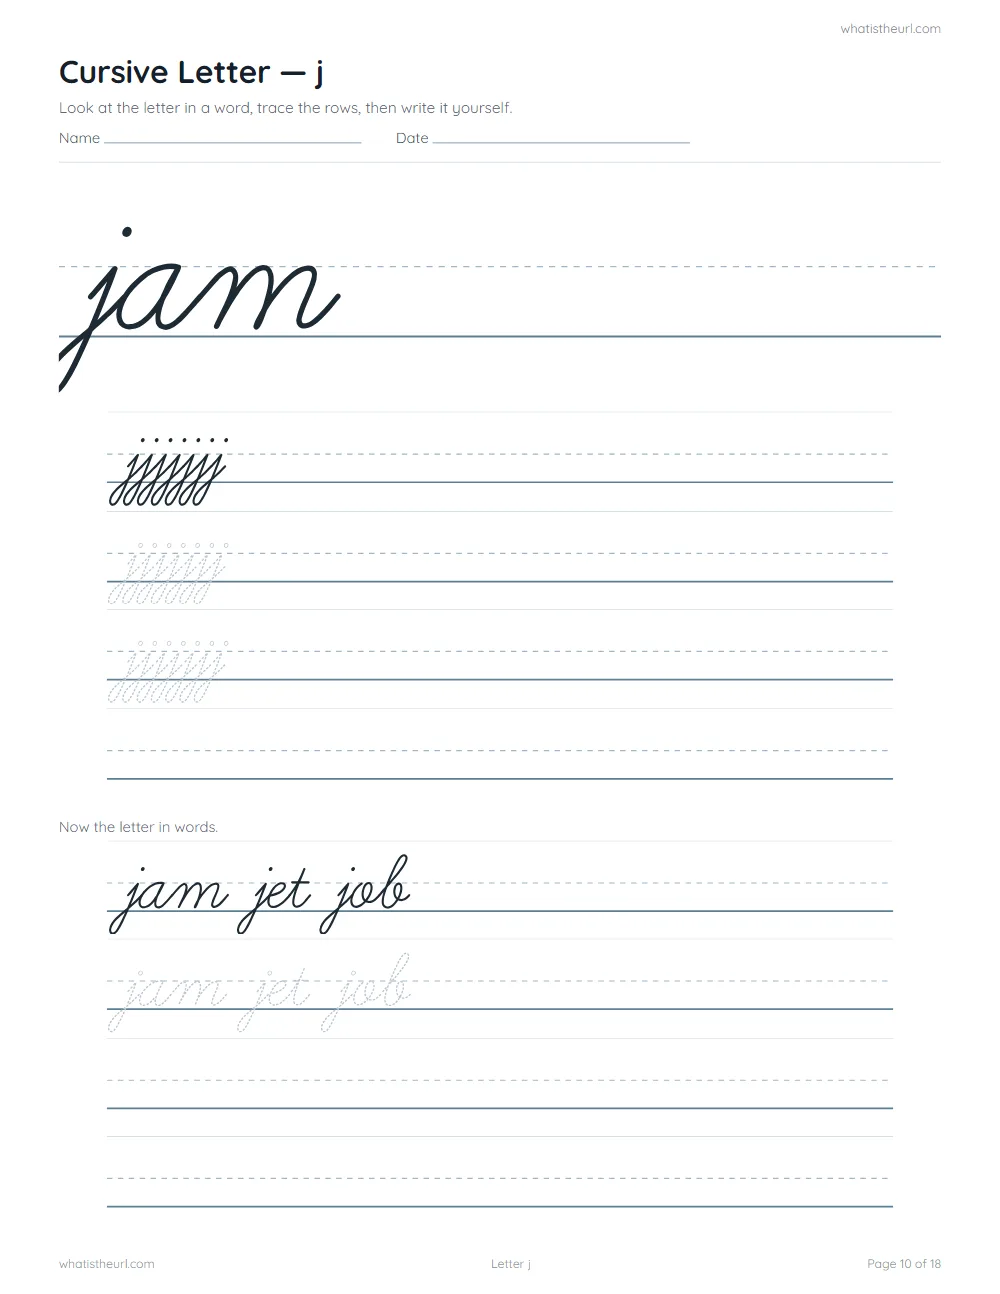
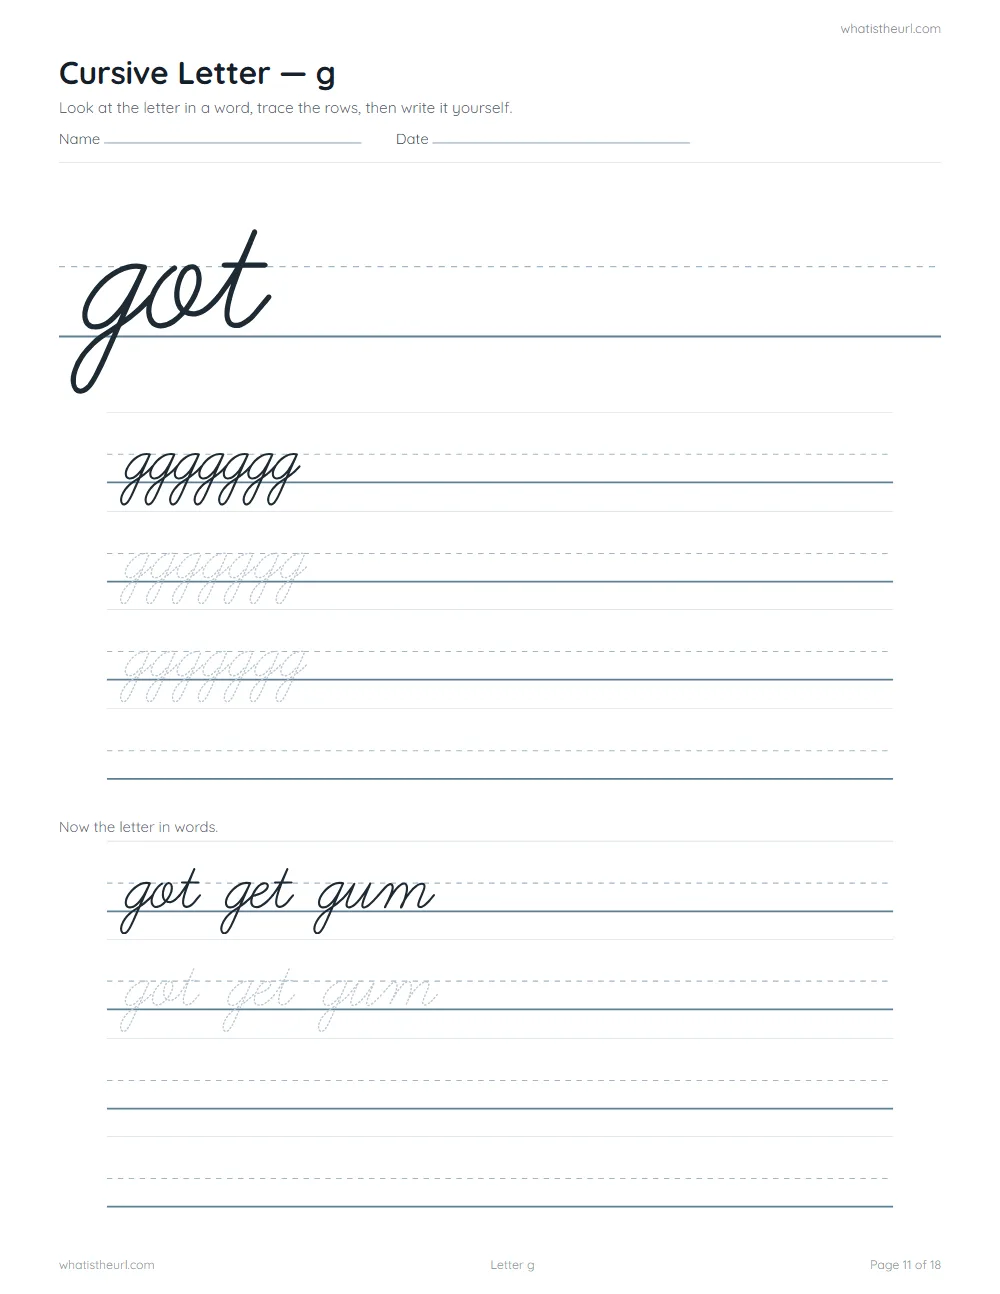
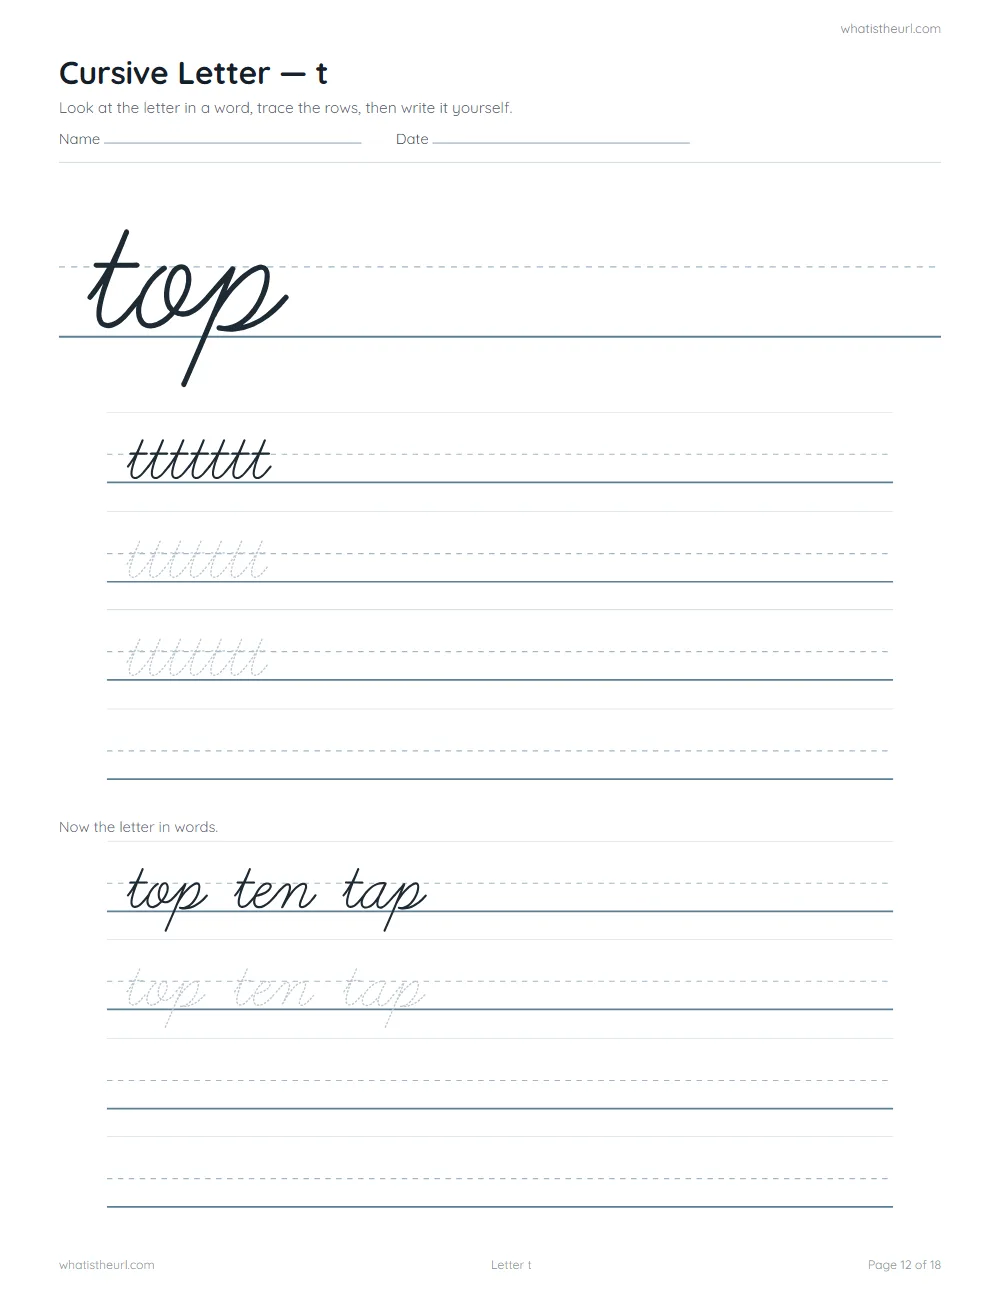
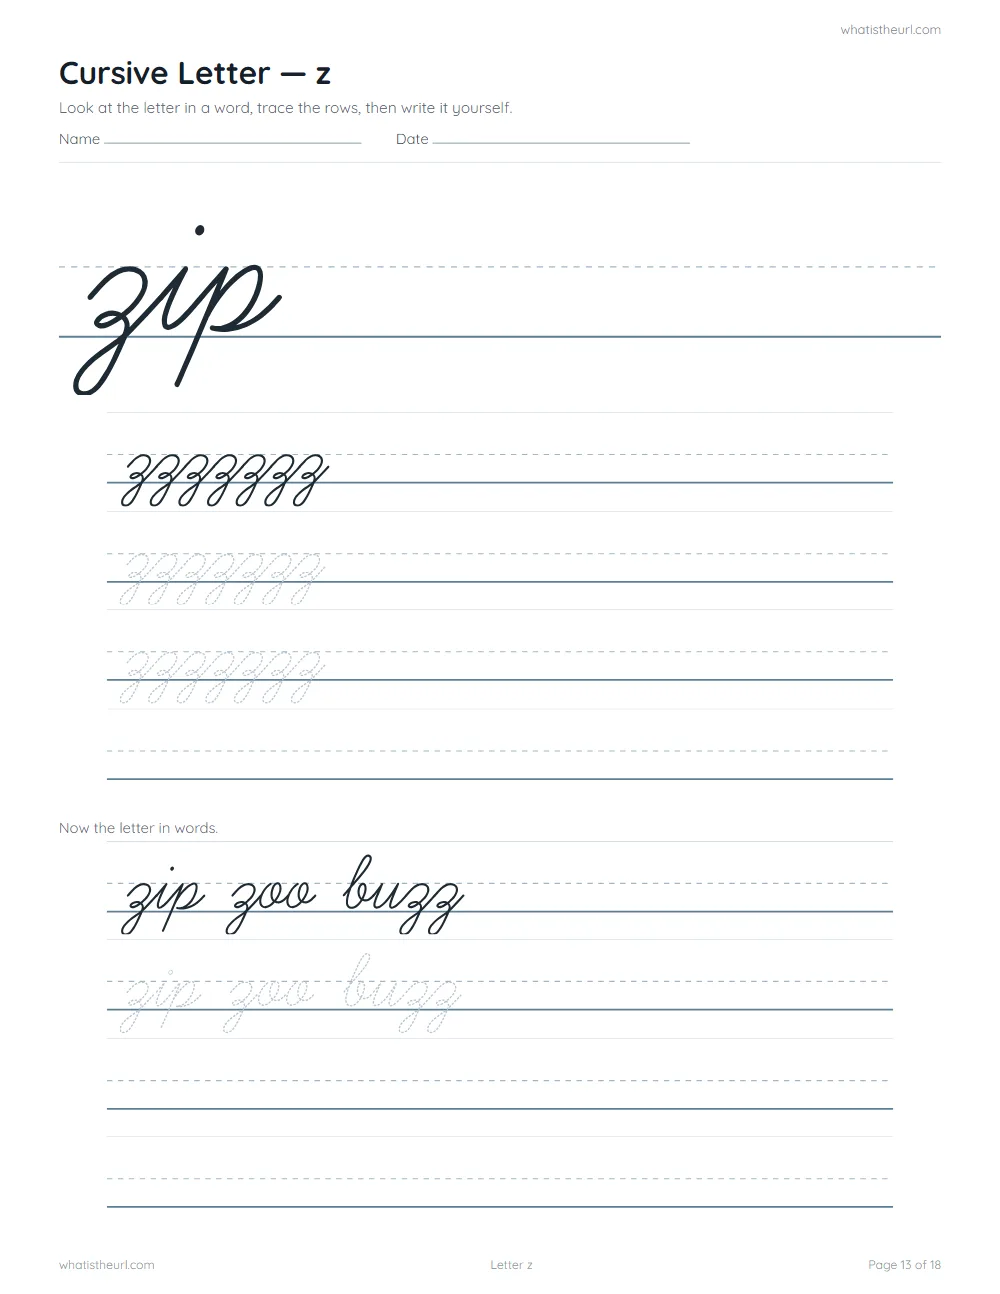
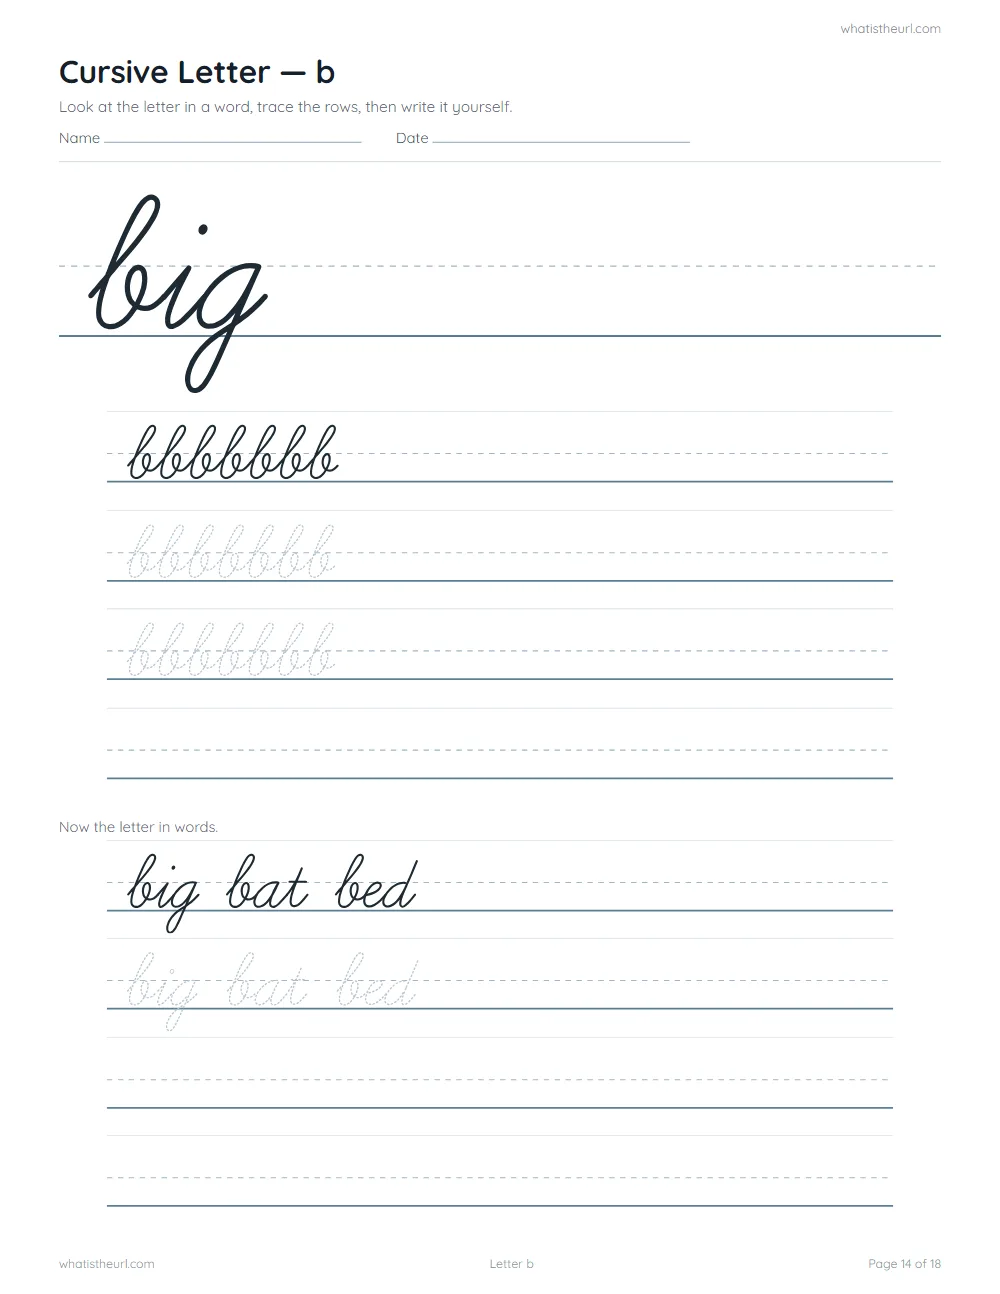
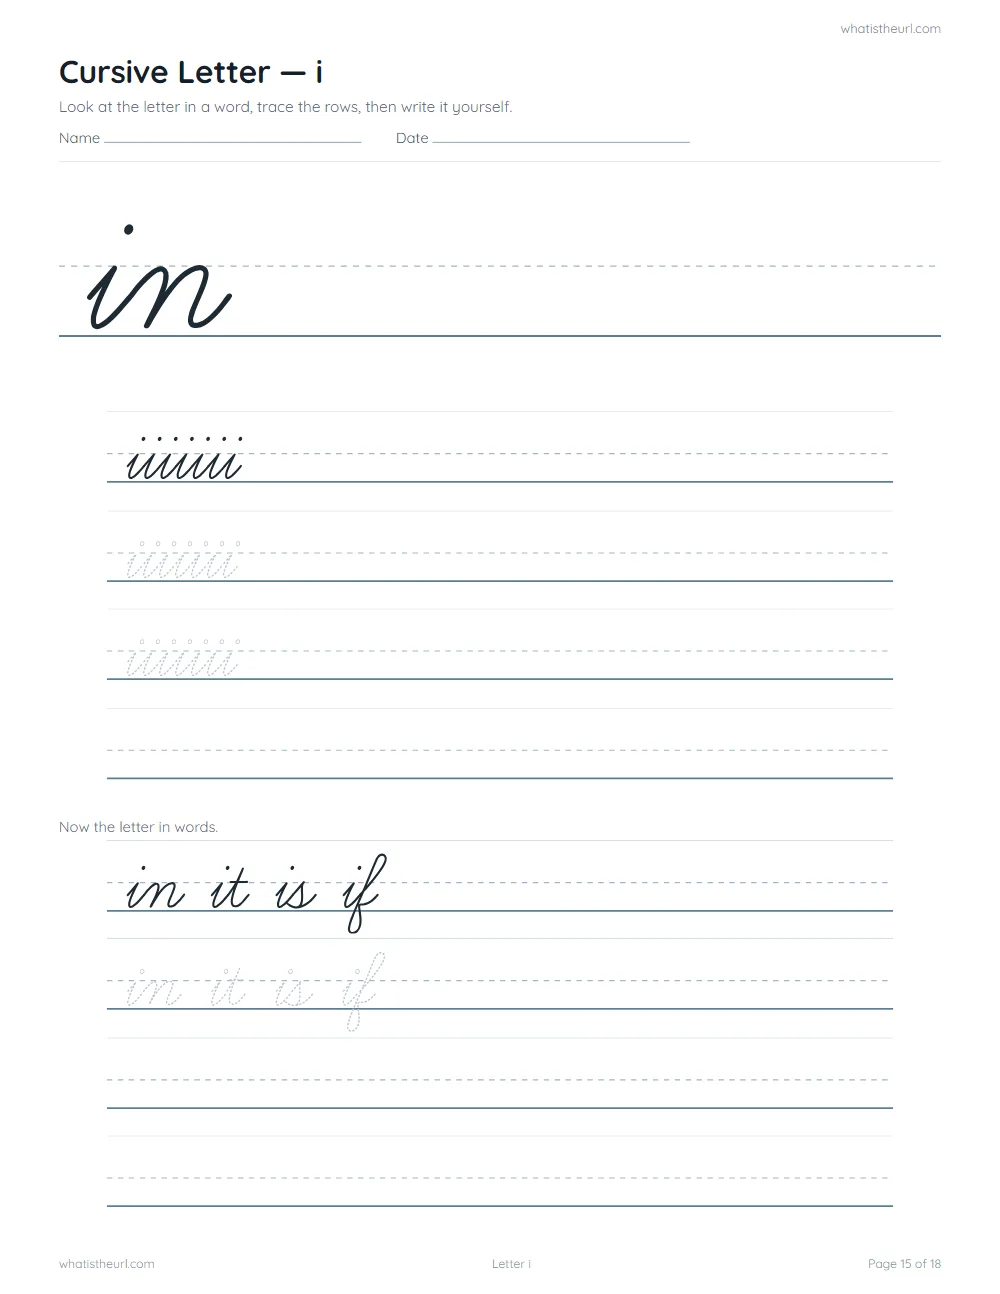
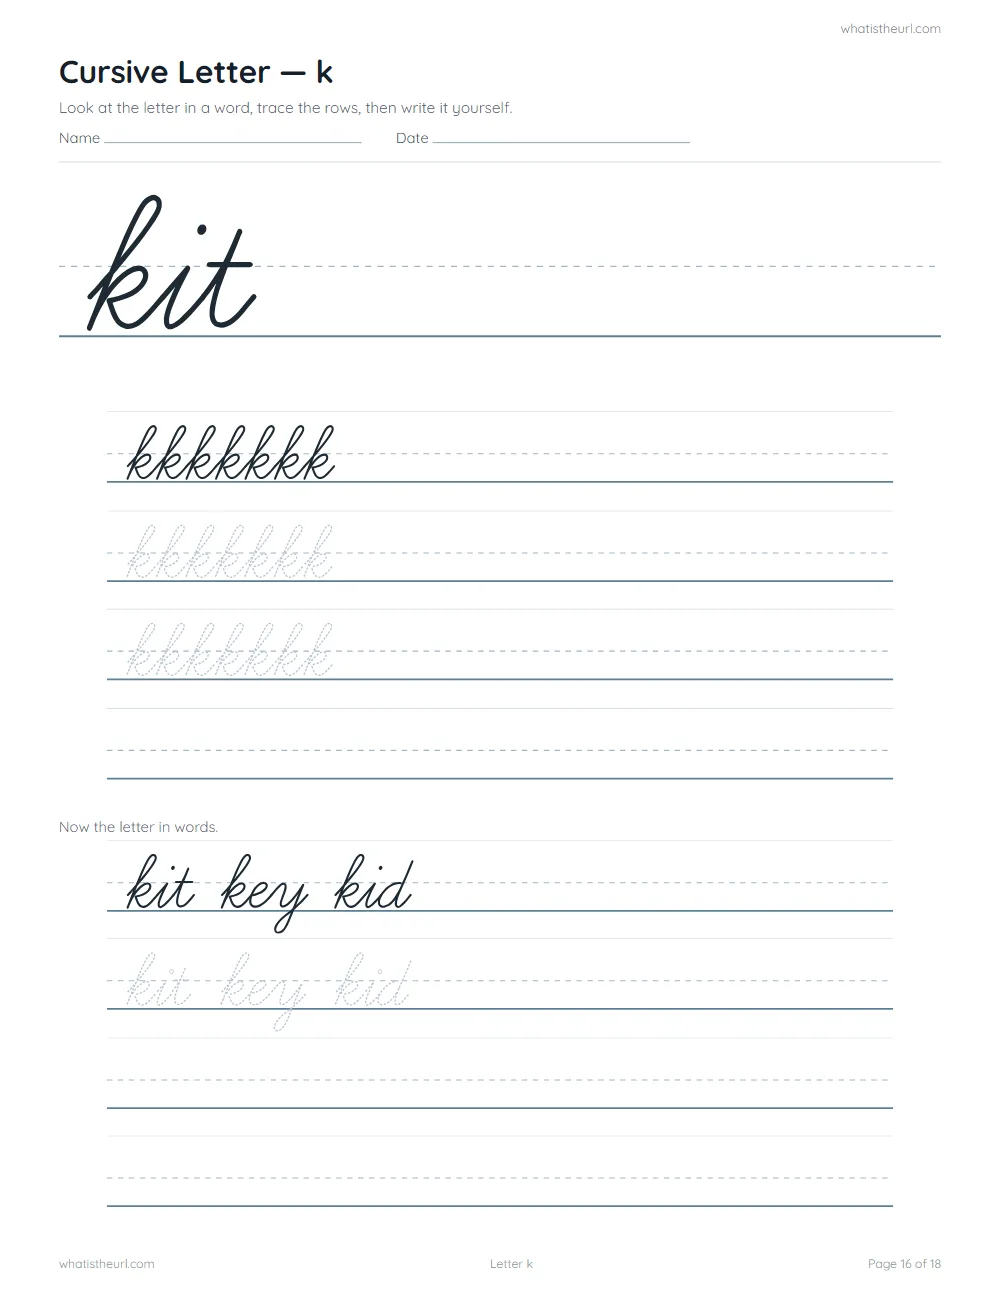
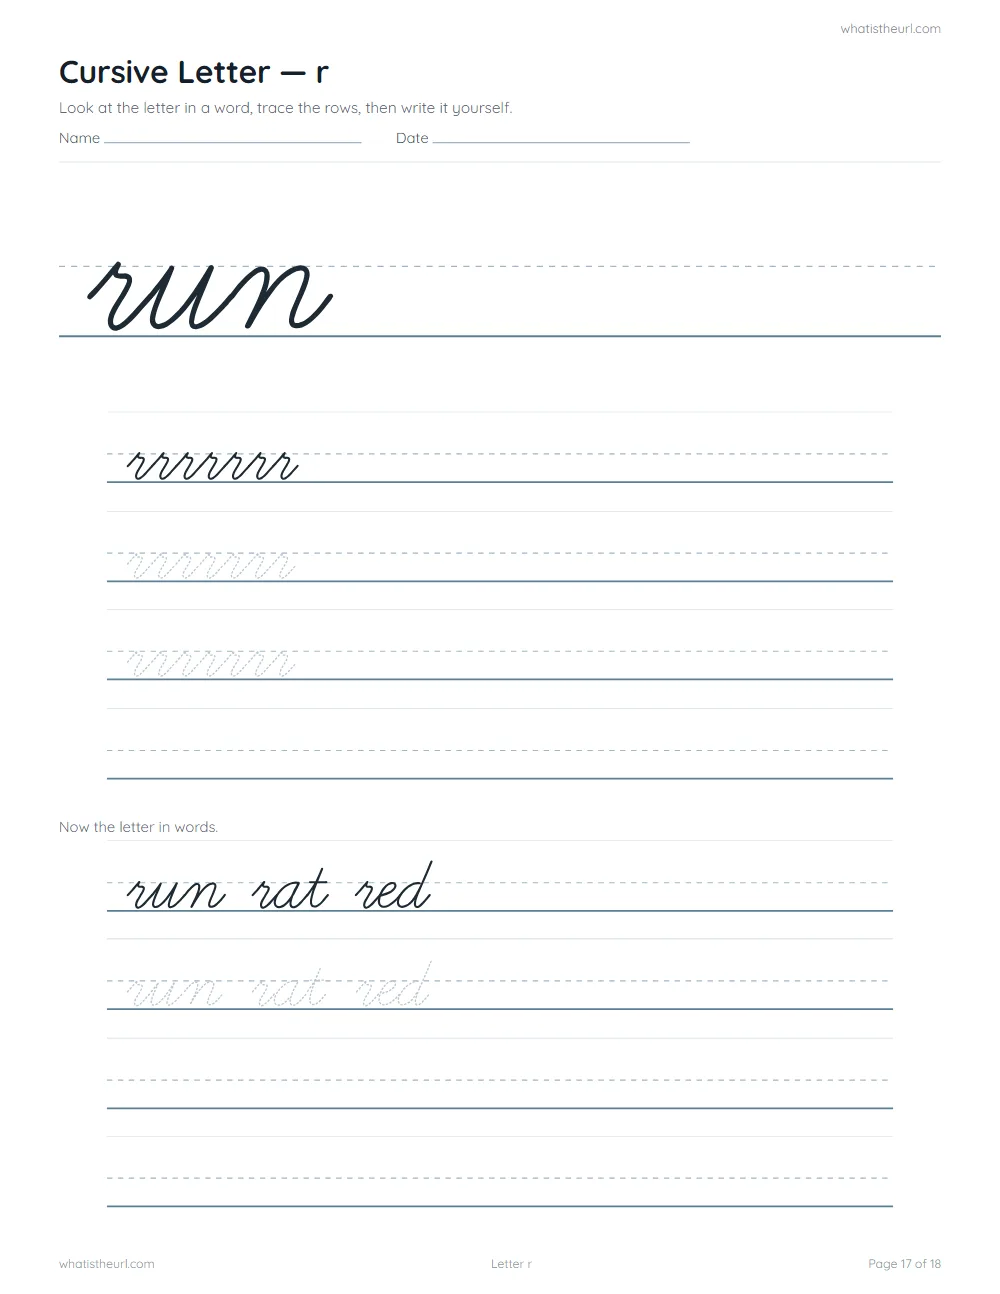
Each single-letter page opens with the letter inside a real word — fan, sun, jam — rather than a giant letter on its own.
That is deliberate. Cursive is a joined script, and several letters barely look like themselves in isolation. The way a child will actually write an s is joined to what comes before and after it, so that is the model worth copying. The rows underneath then practise the letter on its own, once its shape is clear.
What is in the download
- The lowercase alphabet — a to z in order, with a line to copy each row
- Five letter-family sheets — one per stroke group, with model, trace and blank rows
- Ten single-letter sheets — f, s, j, g, t, z, b, i, k, r, each with the letter in words
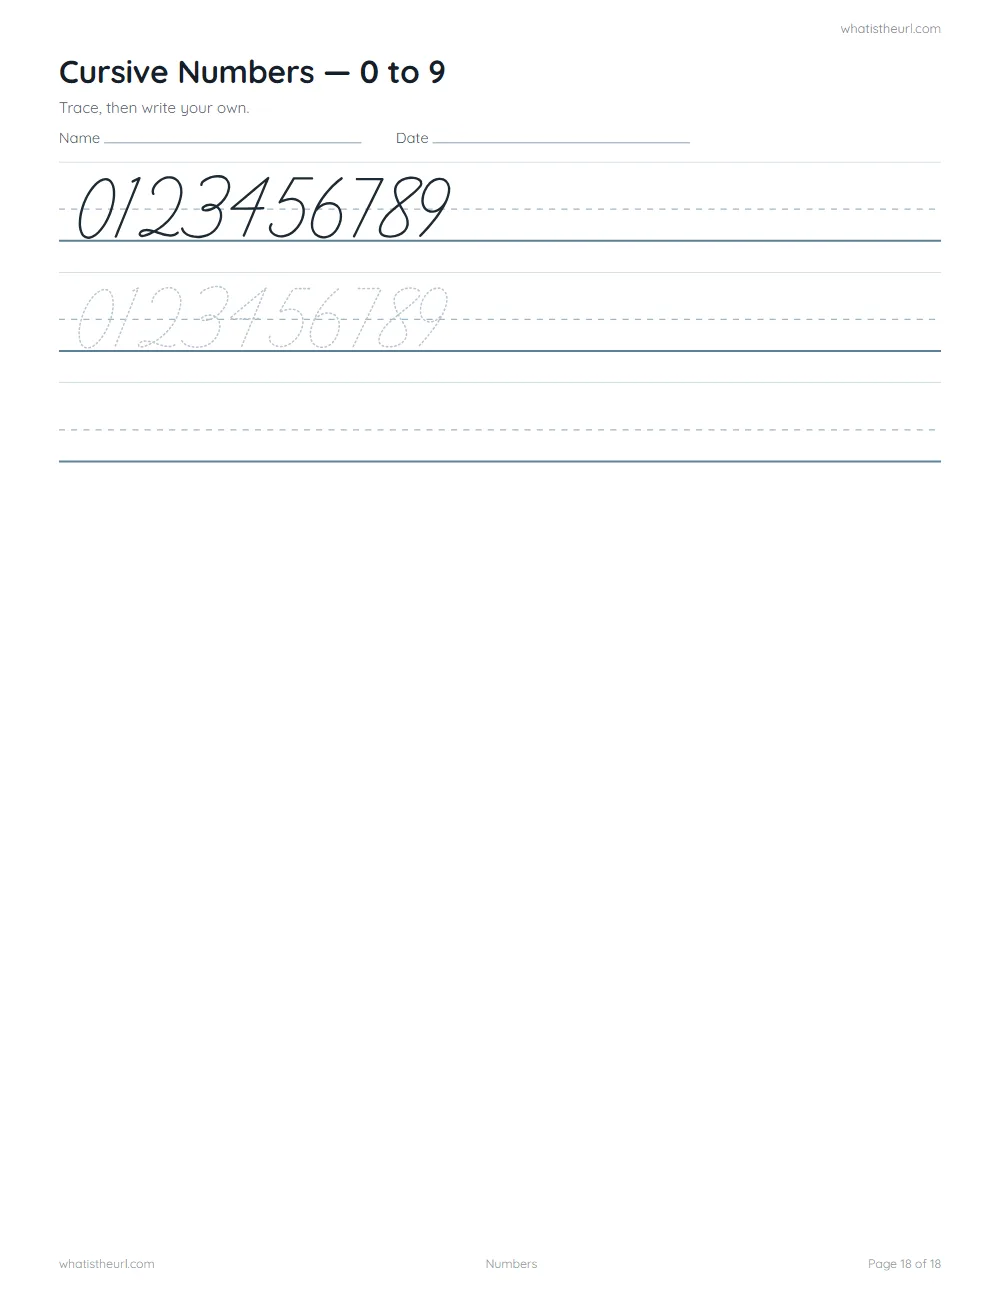
- Numbers 0 to 9
How to use them
- Look before writing. Trace the model with a finger first. The hand learns the movement before the pencil does.
- Trace the grey letters slowly. Speed comes later and comes by itself; accuracy does not.
- Then the empty lines. This is the part that counts — copying from a model is harder than tracing, and it is where the learning actually happens.
- Stop before it gets messy. Ten good minutes beats thirty tired ones. Handwriting is a physical skill and small hands fatigue.
A note on letterforms
These sheets use a traditional cursive hand. Letterforms vary between handwriting programs — if your school teaches D'Nealian or Zaner-Bloser, a few letters will look slightly different, particularly capitals. The lowercase shapes here are conventional and will not teach a child anything they need to unlearn.
Capitals are not included yet. They are the letters that vary most between programs, and we would rather leave them out than teach a form your child's teacher marks wrong.
Cursive Handwriting Worksheets - Lowercase